


Field-Tested Diagnostics
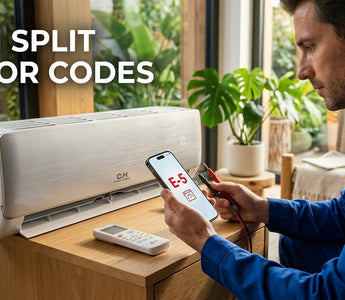
Mini Split Error Codes: Field-Tested Diagnostics & Real Repair Costs
If you are staring at an E1 or P4 error code on your mini split right now, a standard HVAC dispatch fee alone is going to hit you for $89 to $150 before anyone even takes out a screwdriver. But before you call a tech, try this: flip the breaker for 60 seconds. In our experience, a meaningful share of ductless faults are just transient voltage drops or communication hiccups that a hard reboot instantly clears.
If the code comes back, you have a hard component failure. Current repair costs range from roughly $150 for a basic F1 thermistor swap (mostly labor) up to $1,000+ for a P4 inverter compressor drive board replacement.
Just last week on a service call in Austin, I watched a homeowner nearly fry a $500 outdoor PCB trying to bridge a communication wire while the disconnect was still hot. Don't be that guy. As the parts suppliers and climate control experts at Minisplitsforless.com, we’re sharing our internal field diagnostics so you know exactly whether you need a $15 sensor or a whole new condenser.
The Big Three Codes Costing Homeowners the Most Right Now
When a head unit abruptly stops blowing cold and starts flashing alphanumeric codes, people panic. But not all codes mean financial ruin. Here is what we are actually seeing in the field today across the Cooper Hunter, Olmo, and Bravo systems we service:
$180–$420
This means the indoor air handler and outdoor unit stopped talking to each other. I can't count how many times this is just a chewed up or poorly stripped 14/4 stranded wire. If the signal wire is just loose at the terminal block, you fix it for free. If the indoor PCB is completely fried, you're looking at the $420 end of that spectrum.
$400–$1,000
The brain controlling your variable-speed compressor is toast. You'll usually need to swap the whole outdoor inverter board. The part itself isn't cheap, and confirming it requires a tech who actually knows how to use a multimeter to check diode bridges, not just a guy swapping parts blindly.
$150–$310
These thermistors monitor room and coil temps. They degrade over time or short out from heavy moisture. The OEM sensor itself is incredibly cheap—usually $15 to $45—so you're mostly paying for the truck roll and the labor minimum.
What Your Error Code Means (Cooper Hunter, Olmo & Bravo)
Cooper Hunter, Olmo, and Bravo systems generally use a similar alphanumeric code scheme, but exact meanings can shift — not just between brands, but between model lines within the same brand, since different product families often use different OEM control boards. The table below covers what these codes most commonly indicate; always confirm against your specific model's installation and service manual before diagnosing.
| Fault Type | Typical Code | What It Means |
|---|---|---|
| Communication Faults | E1 or E6 | No signal between the indoor and outdoor units. |
| Sensor Failures | F1 or F2 | A room or coil thermistor is reading out of range or open. |
| Inverter Drive / Compressor | P4 | The outdoor inverter board driving the variable-speed compressor has faulted. |
| Voltage / Protection Fault | E5 | Model-dependent — commonly tied to supply voltage or a compressor protection trip. Confirm the exact meaning against your model's manual before diagnosing. |
| Fan Motor Fault | H6 | Typically indicates the indoor or outdoor fan motor isn't responding as expected. |
Common Parts, Real Symptoms, and DIY Feasibility
Knowing the mini split error codes is only half the battle. Here is a breakdown of what breaks, what a pro charges, and if you can realistically tackle it yourself.
- Thermistor (Sensor): Fixes F1/F2 codes and rapid cycling. Pro cost: $150 - $310. DIY Feasible? Yes. It's totally plug-and-play. Pop the head unit cover, unclip the sensor, and plug the new one into the board.
- Signal Wire: Fixes E1 codes. Pro cost: $180 - $300. DIY Feasible? Yes. Just kill the power at the disconnect, re-strip the wires, and land them tightly on the terminals.
- Outdoor Inverter PCB: Fixes P4 codes. Pro cost: $400 - $1,000. DIY Feasible? No. Diagnosing this requires complex electrical testing.
- Refrigerant Recharge: Fixes EC codes (unit blowing warm). Pro cost: $320 - $900+. DIY Feasible? Strictly Pro. You legally need an EPA 608 certification to handle the refrigerant.

The Diagnostic Walkthrough (What a Licensed Tech Actually Does)
Don't stand by watching a contractor guess. Here is the exact sequence we execute when doing mini split troubleshooting on a job site.
Step 1: Catch the Code
Photograph the display or count the LED flashes. Note whether the code is on the indoor head, the outdoor diagnostic port, or your app. Modern setups with a Wi-Fi diagnostic adapter will push the exact fault string right to your phone, skipping the guesswork.
Step 2: The Hard Reset
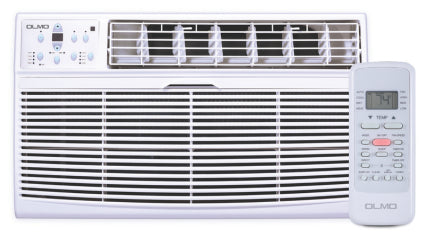
Trip the dedicated breaker for the outdoor condenser. Leave it off for a full 60 seconds. Don't rush this; the inverter capacitor bank needs time to bleed off stored voltage. Restore power and wait 3 minutes. We had a commercial job in Tampa last month where a grid brownout locked up four wall units. We flipped the breakers, drank a coffee, turned them back on, and walked away heroes. It really is that simple sometimes. If it’s still acting erratic, make sure you don't just have a smashed or malfunctioning remote before ripping into the wiring—test it with a spare or OEM replacement remote first.
Step 3: Inspect the Comm Cable
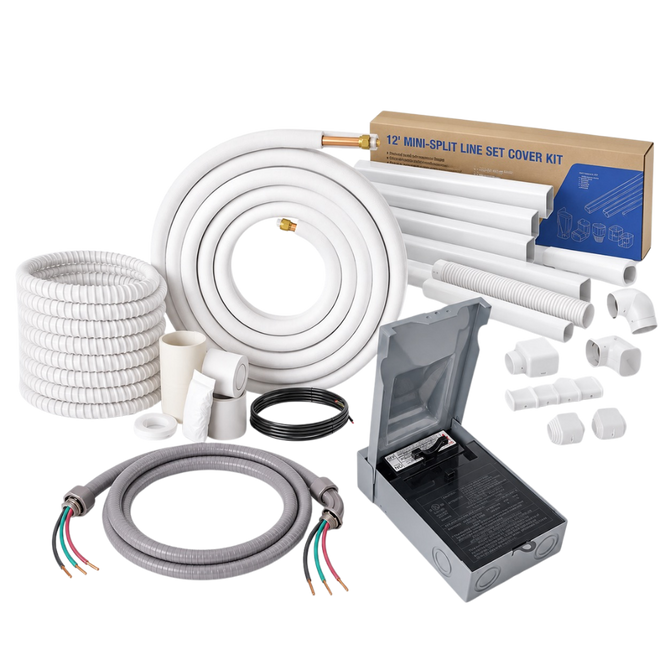
For E1 faults, pull the outdoor disconnect to kill the power. Remove the outdoor terminal cover and check the S-wire (signal). Loose or oxidized copper here causes the majority of intermittent communication drops we see. Upgrading to a heavily insulated line-set & signal wire kit is often a faster and cheaper fix than swapping a perfectly good $420 PCB.
Step 4: Slap a Meter on the Sensors
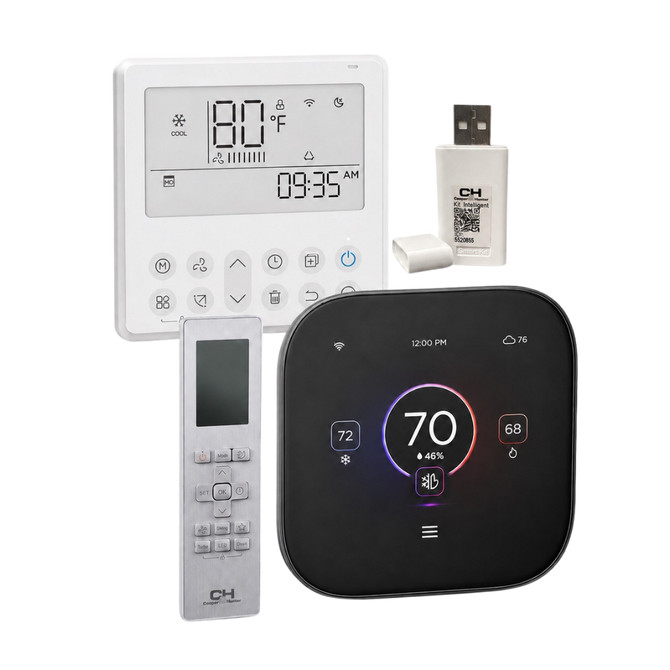
For F1/F2 codes, locate the ambient thermistors. Unplug them and measure resistance. The spec is usually 10kΩ ± 5% at room temp (77°F). If your meter reads something crazy like 2kΩ or infinite, the sensor is trash. If the sensor is fine but a wired wall controller is still throwing the code, the stat itself might be the problem — in that case, contact us about a replacement wired thermostat for your model.
Step 5: Check Capacitor Health
For an H6 code (fan motor failure), test the run capacitor with a capacitance meter. A bulging $25 capacitor loves to masquerade as a highly expensive fan motor failure.
Step 6: Order the Exact OEM Part
Once you've undeniably confirmed the failed component, bypass the local contractor markup, which routinely runs well above wholesale. Match your model numbers and order the OEM part directly.
The "Do Not Touch" Line: EPA 608
Electrical components like capacitors and thermistors are generally safe for a handy homeowner to test with a multimeter. The sealed refrigerant system is entirely off-limits.
If your unit throws a P0 (high pressure protection) or an EC leak detection code, call an EPA 608 licensed professional. Handling modern refrigerants requires manifold gauges, vacuum pumps, and recovery tanks. Plus, system pressures fluctuate wildly based on outdoor ambient temperatures. Understanding this requires serious technical knowledge, especially when factoring in how performance shifts during sub-freezing operation.
Who This Guide Is NOT For
Let's save you some time. This guide will not help you if:
- Your system is under factory warranty: Most of our systems carry a 7-year compressor / 5-year parts warranty (extended terms up to 10/10 or 12/12 may apply through certified-installer programs). DIY electrical work or unauthorized component swaps will instantly void that coverage. Call your installing contractor.
- You own a next-gen R-454B or R-32 system: These use mildly flammable (A2L) refrigerants and feature proprietary safety sensors and lockouts. Do not try to bypass those safety features under any circumstances — call a licensed tech for anything beyond basic electrical diagnostics.
*(Disclaimer: A2L refrigerants like R-32 and R-454B require installation and service by certified technicians; local codes vary.)*
Get Your System Running Again Today
If you've run the multimeter tests and know exactly what's dead, skip the middleman. Order the verified OEM replacement component with same-day dispatch from the Minisplitsforless.com parts vault. If you are still questioning your resistance readings, hit up our on-staff EPA technicians for a second opinion before you authorize a massive repair invoice.
Frequently Asked Questions (FAQ)
It means the indoor and outdoor units have stopped communicating. The fix is usually replacing a damaged 4-wire signal cable, cleaning a corroded terminal block, or swapping a failed indoor PCB. Repair costs range from $180 to $420. Always reset the breaker for 60 seconds first—many E1 events clear on a reboot.
Right now, you can expect to pay anywhere from $150 to $310 for sensor and wiring issues, up to $1,000 for inverter drive faults. If the compressor itself physically failed, you are usually looking at over $1,200. Diagnostic calls run $89–$150, which reputable companies will credit toward the repair.
Yes. Just flip the breaker off for a full minute, then turn it back on. Codes triggered by dirty power, voltage sags, or temporary sensor spikes frequently self-clear. If the code comes right back, you have a hard hardware failure.
Check the owner's manual that came with your specific model, or the nameplate on the indoor or outdoor unit for the model number, then look up the manufacturer's service manual. Codes are broadly consistent across Cooper Hunter, Olmo, and Bravo systems, but exact letters can shift slightly by model year.
Absolutely. A clogged filter chokes the airflow, which drops the coil temperature until it freezes into a block of ice. This usually triggers an EC (freeze/leak) or F-series sensor code. Wash your filters.
No. We strongly advise against them. Slapping a universal board onto a DC inverter drive is a great way to cause catastrophic damage. Always use exact OEM part numbers.