



Warning Signs & Root Causes
6 Mini-Split Mistakes That Kill Systems Early
The fastest way to kill a mini-split is to skip the nitrogen pressure test or use 18-gauge thermostat wire for communication. In our experience, these two errors are behind most of the premature compressor failures and "mystery" board burnouts we see on service calls.
Expect to pay between $1,200 and $3,500 for out-of-warranty repairs if these installation steps are botched — most manufacturer warranties are voided the moment they detect non-spec wiring or moisture contamination during a claim inspection.
To ensure your system survives its first decade, you must prioritize mechanical torque specs (10–44 ft-lbs depending on line size), a vacuum pull-down to at least 500 microns, and the use of 14/4 stranded copper wire. Generic "hand-tightening" or using old-school AC methods on modern inverter tech is a recipe for a "no-cooling" service call within the first 90 days.
1. Stripped Valves & Improper Flare Torque
In 15 years of auditing HVAC installs, the #1 "rookie move" I see is tightening a flare nut until it "feels right." Modern R-410A and R-32 systems operate at much higher pressures than old R-22 units. If you don't use a torque wrench, you either leave it too loose (slow leak) or crush the copper flare (cracks and massive leaks).
Use a digital torque wrench to ensure proper sealing:
- 1/4" Line: 10–14 ft-lbs
- 3/8" Line: 24–29 ft-lbs
- 1/2" Line: 36–44 ft-lbs
- Expert Tip: If you see "oil" on a fitting, that’s not lubricant—it’s refrigerant oil leaking out. The seal is already gone.
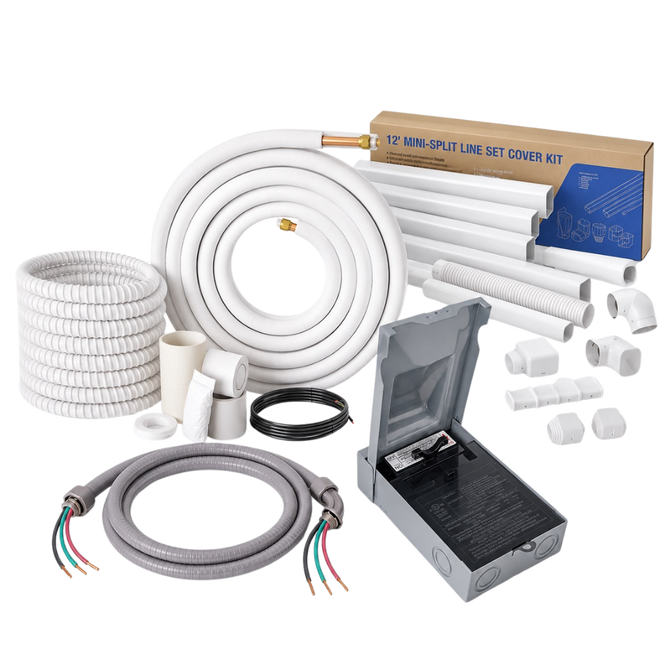
- Who this is NOT for: If you are unwilling to buy or rent an eccentric flaring tool, do not attempt a DIY flare. Use pre-flared installation kits to eliminate the highest point of failure.

Over-tightening crushes the copper flare, creating micro-cracks that cause massive leaks under modern R-410A and R-32 pressures.
2. The "Short-Cut" Vacuum (Skipping Nitrogen)
I’ve seen "pros" try to purge lines by just cracking the refrigerant valve for a second to "blow the air out." This is illegal (EPA Section 608) and destructive. It leaves moisture in the lines, which turns into acid when mixed with POE oil, eating the compressor from the inside out.
A real install requires a Triple Evacuation:
- Pressurize with Dry Nitrogen to 400+ PSI to find leaks.
- Pull a vacuum to 500 microns using a digital gauge (not the analog ones on your manifold).
- Perform a "decay test"—if the microns rise rapidly above 1,000, you still have a leak or moisture.
Real-World Consequence: Skipping this saves an hour today but costs a $2,500 compressor replacement in year three.
3. The 18/2 Thermostat Wire Trap
Standard HVAC units use thin 18-gauge wire for signals. Mini-splits do not. They use a "Bus" system where the communication terminal carries both a voltage signal and data — the exact terminal label varies by brand, so always match your model's wiring diagram rather than assuming a universal pinout.
- The Mistake: Using 18/2 or 18/4 "brown" thermostat wire. It will melt.
- The Requirement: You need 14/4 Stranded Copper (THHN or Tray Cable). Solid wire is a "no-go" because the vibration of the outdoor condenser can cause solid copper to snap inside the insulation, leading to intermittent "Communication Error" codes that are a nightmare to troubleshoot.
- Commercial Angle: We stock UL-listed 14/4 communication cable specifically because generic hardware store wire often fails the 600V insulation requirement for these systems.
4. Choking the Airflow (The "Aesthetic" Failure)
Homeowners often want to hide the "ugly" white box. I once saw a client build a custom bookshelf around an indoor head with only 1 inch of clearance. The unit "short-cycled," meaning it sucked its own cold air back in, thought the room was 60°F, and shut off while the room was actually 80°F.
- The "Rule of 6": You need at least 6 inches of clearance from the top of the unit to the ceiling.
- Outdoor Clearance: Don't hide the condenser behind a tight lattice fence. If the hot exhaust air can’t escape, the head pressure spikes, and the inverter board will "throttle" the performance to save itself, leaving you with lukewarm air.
5. The "Paperwork" Void: Missing the Registration Window
This isn't a mechanical error, but it's the most expensive one.
- The Reality: Standard manufacturer warranties (often 5–7 years on the compressor, 5 years on parts) are typically only valid if you register the serial numbers at the manufacturer's portal within the required window — commonly 60 days from installation. Skip registration, and you can void coverage entirely, not just shorten it. Extended 10/10 or 12/12-year terms usually require the installer to be enrolled in the manufacturer's certified-contractor program — ask your installer whether they qualify before assuming you'll get the longer term.
- Expert Advice: Take a photo of the silver "Data Plate" on the side of the outdoor unit and the sticker on the bottom of the indoor unit the day they are hung. If you miss the registration window and the unit fails in year seven, you may be paying full price for parts and labor.
6. Ignoring the "Snow Line" and Drainage
If you live in a climate where it drops below freezing, you cannot bolt the condenser directly to a plastic pad on the ground.
- The Issue: During the winter "Defrost Cycle," the unit melts ice off its coils. That water needs somewhere to go. If the unit is on the ground, the water pools, freezes into a "glacier," and eventually strikes the fan blades.
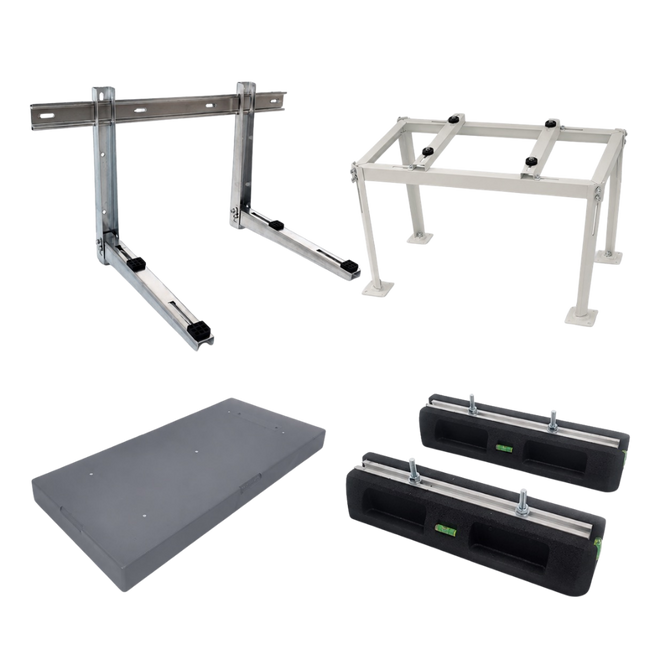
- The Fix: Use a Wall Bracket or Snow Stand to lift the unit 12–18 inches. This allows ice to drop and melt away safely.

Lifting the unit 12-18 inches off the ground prevents defrost ice buildup and protects the fan blades from permanent damage.
Ask your installer these three questions. If they hesitate, find a different tech.
- "What micron level do you pull to?" (Correct Answer: 500 or lower).
- "Do you use a torque wrench on the flares?" (Correct Answer: Yes, to factory ft-lb specs).
- "Are you using 14/4 stranded wire?" (Correct Answer: Yes, solid wire isn't allowed).
Need a system that's harder to mess up? Browse our pre-charged and DIY-friendly inventory or call our tech line for a layout review before you buy.
FAQ
Never. It means you have a refrigerant leak or a filthy filter. Turn it off immediately to avoid water damage when it thaws.
No. Never use "stop-leak" chemicals in an inverter system. The tiny EEV (Electronic Expansion Valve) has openings smaller than a pinhead; leak sealants will clog it instantly, totaling the system.
This is usually biological growth on the coil due to a drain line that isn't sloped correctly. Ensure the indoor unit is perfectly level or tilted slightly toward the drain hole.
*Disclaimer: All A2L refrigerant systems (R-32, R-454B) must be installed by EPA-certified technicians. Local electrical codes supersede manufacturer guidelines. Always consult a licensed professional for high-voltage connections.*