



Upgrade Your Comfort
Replacing a Through-the-Wall AC Unit with a Ductless Mini Split
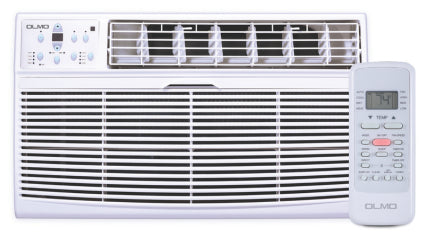
Let's be honest. That metal box shoved into your wall has always been a compromise. Sure, it cools the room, but at what cost? You’ve got a compressor rattling right behind your head, winter drafts sneaking in around the edges, and an energy bill that makes you wince every July.
I’ve seen enough of these setups to know that upgrading from a clunky legacy wall ac unit to a ductless mini split is an absolute game-changer. But it's not exactly a simple plug-and-play swap.
A lot of people ask me, "Can I just yank out the old unit and slide a mini split into the exact same hole?"
Short answer: No.
Long answer? You really don't want to. Mini splits don't use that giant gaping sleeve. They only need a tiny three-inch hole for the lines. The rest of that massive crater in your wall? That’s going to need some carpentry.
Let’s talk about what this upgrade actually looks like, how to handle the wall repairs without losing your mind, and why it's worth the effort.
Why a Mini Split is in a Totally Different League
Look, it’s easy to think a wall mounted air conditioner and a ductless mini split are basically the same thing. They both hang on a wall. They both blow cold air. But that’s where the similarities end. Mechanically, they aren't even playing the same sport.
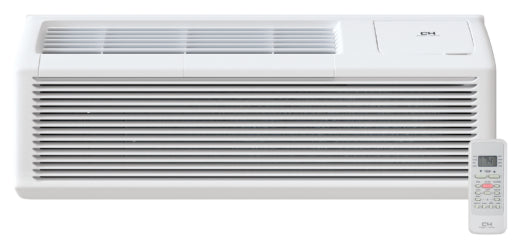
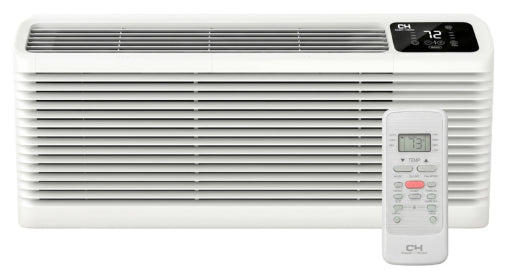
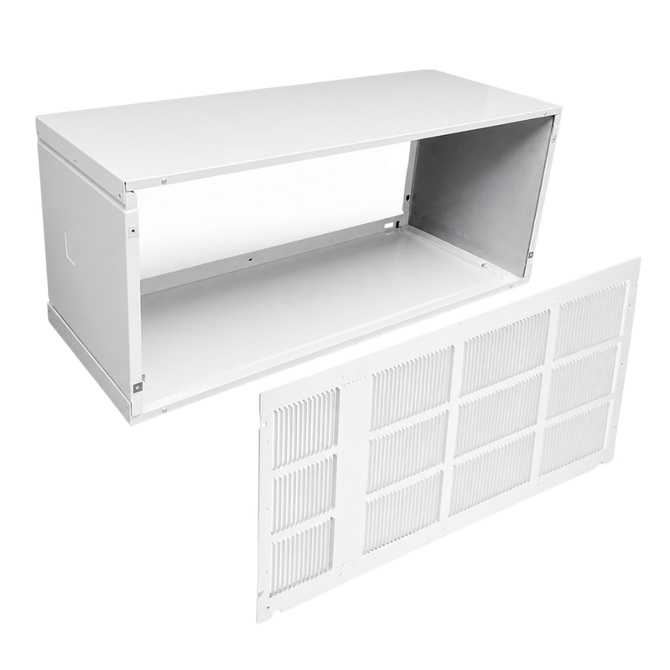
A through-the-wall AC is an all-in-one package. The compressor, the coils, the fan—it’s all crammed into one rattling metal box. That’s why you hear every single clunk when the compressor kicks on (usually right when you're trying to fall asleep).
A mini split, on the other hand, puts the loud stuff outside. The heavy, noisy compressor sits in your yard or on an exterior bracket. Inside, you just get a highly tuned fan that is genuinely quiet. Plus, modern setups use inverter technology. Instead of aggressively slamming on and off, the system just hums along, tweaking its speed to keep the room exactly at the temperature you set.
If you're still on the fence, comparing a wall AC unit vs. mini split makes one thing clear: spending a bit more upfront won't cost you a fortune in the long run.
Just look at the numbers—especially with the new 2026 SEER2 efficiency standards. The performance gap is huge.
| Feature | Old-School Wall AC | Modern Ductless Mini Split |
|---|---|---|
| Noise | 50–65 decibels (Loud hum, annoying vibration) | 19–30 decibels (Barely noticeable) |
| Efficiency | 9–11 CEER (Eats electricity) | 18–28+ SEER2 (Super efficient) |
| Heating | Usually none (or terrible electric heat) | Real heat pump (works in freezing weather) |
| The Hole | Massive 24" x 16" drafty sleeve | Small 3" insulated hole |
Dealing with the "Hole in the Wall" Problem
So, what actually happens to the old opening?
This is usually the biggest reality check for homeowners. You can't just leave that big metal sleeve in the wall. I mean, you could, but you’d be inviting moisture, bugs, and terrible drafts. Doing this right means doing some basic envelope repair.
First, pull the old unit and rip out the sleeve so you can see the original framing. Next, get some standard lumber (2x4s or 2x6s) and frame that 24x16-inch opening to match the rest of the house.
Then comes the insulation. Pack it tight with fiberglass, mineral wool, or spray foam. Don't skimp here. Seal it up on the outside with house wrap and flashing tape (double-check everything so it doesn't leak later). Finally, slap some drywall on the inside, match your siding on the outside, and paint it.
It sounds like a hassle, right? It is a bit of work. But once that wall is properly patched, you have total freedom to put your new mini split wherever it makes the most sense.

Where Should the New Unit Actually Go?
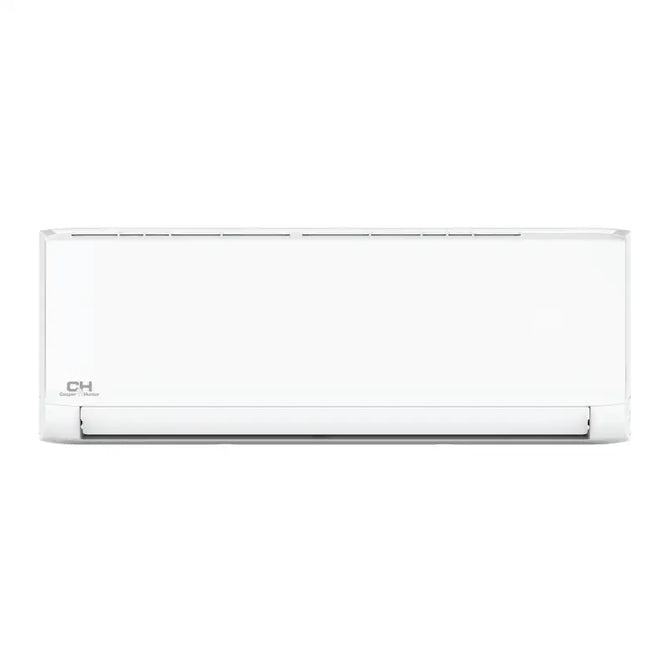
Don't just stick the new indoor unit where the old one was out of habit. Usually, you want the mini split head high up on the wall—about 6 to 8 feet off the floor—with a little breathing room near the ceiling so it can pull in air.
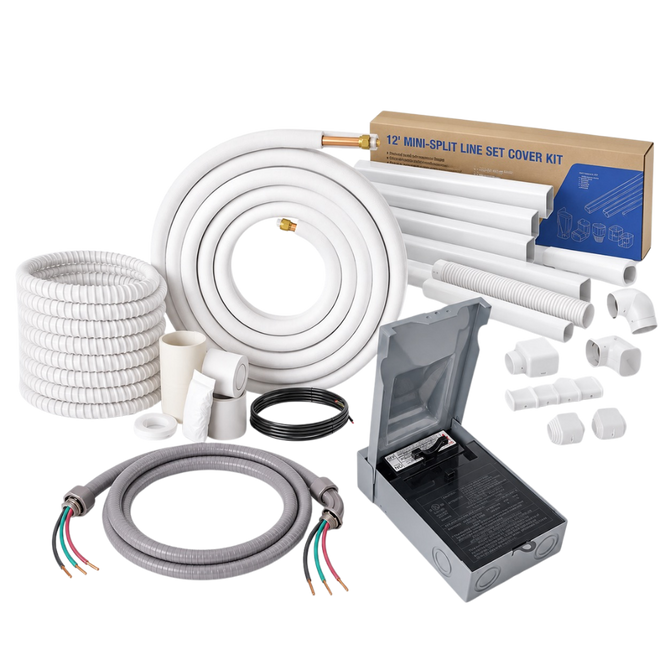
Also, think about how the refrigerant lines are going to run to the outside unit. If you can mount the indoor head on an exterior wall, you’ll save yourself a massive headache. The lines can punch straight out the back, run down the side of the house (hidden by a line-set cover), and connect right to the condenser. Oh, and keep gravity in mind. Condensation needs to drain downward. If you can't slope the drain tube down, you'll be buying a condensate pump.
Getting the Size Right (Bigger Isn't Better)
People used to buy the biggest window or wall unit they could afford, thinking it would cool the room faster. With modern heat pumps, that’s a terrible idea. An oversized unit will short-cycle, leave the room feeling clammy, and wear itself out way too fast.
You want the Goldilocks size:
- Small offices or compact bedrooms (150–250 sq. ft.): A 6,000 BTU wall mount mini split is usually spot on. It barely uses any power and keeps temperatures rock solid.
- Primary bedrooms or sunrooms (250–400 sq. ft.): Step up to a 9,000 BTU ductless mini split.
- Living rooms (400–600 sq. ft.): The classic 12,000 BTU unit is the workhorse here.
(Keep in mind, high ceilings, poor insulation, and big sunny windows change the math. When in doubt, get an HVAC tech to run a Manual J calculation).
Wait, Can I Just Plug It In?
Nope. You can't just plug a mini split into the old outlet. These are hardwired systems.
A lot of old wall ACs ran on standard 115V household circuits. You can actually find a great 12,000 BTU 115V mini split if you want to keep the electrical side simple. But if you’re looking at a bigger unit or running multiple zones, you’ll definitely need 208/230V power. Either way, electrical code requires a dedicated breaker and an outdoor weatherproof disconnect box.
A quick word on DIY installations: hanging the unit on the wall is totally doable if you're handy. But the refrigerant lines? That’s where things get tricky. You have to flare the copper, pressure-test it with nitrogen, and pull a vacuum to get the moisture out. Honestly, it’s usually worth paying a pro to do the final hookup so your expensive new system doesn't leak on day two.
Matching the System to the Room
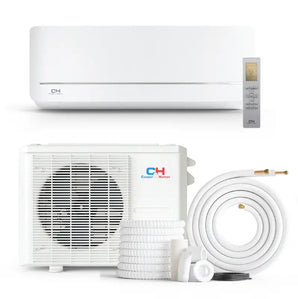
If you're browsing through single-zone wall mount mini split systems, think about where it's actually going.
If it's for your bedroom—and if you’re like me and can’t sleep with a jet engine buzzing in your ear—a 6K or 9K unit with a sleep mode is a lifesaver.
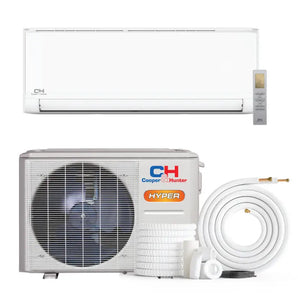
Got a sunroom? They are notorious for baking in July and freezing by December. A hyper-heat 12K BTU model will actually let you use the room year-round.
For an open-concept living room, look for an 18K to 24K BTU unit with motorized louvers. It will push the air all the way across the space, getting rid of those annoying hot spots your old AC could never reach.
Should You Just Keep the Old Box?
If your current through-the-wall AC unit is fairly new, works fine, and cools a space you barely use (like a garage), just run it into the ground. Save your cash.
But if it’s dying, or your electric bill is making you cry, don't throw good money at repairing an outdated system. Upgrading pays for itself pretty quickly in energy savings, plus you get a legit, reliable heating source for the winter.
A Few Quick Questions I Get All the Time:
Like I mentioned earlier—no. You only need a 3-inch hole now. The giant rectangle needs to be framed, insulated, and drywalled.
Not at all. Wall ACs are noisy, all-in-one boxes. Mini splits are permanent, super-quiet systems with the loud parts sitting outside.
Yes. Please do. If you leave an empty metal sleeve in the wall, it’ll just collect condensation and rust. Take it out and close up the wall properly.
Usually 6k, 9k, or 12k BTU for a single room, but don't blindly buy whatever size your old unit was. Check your square footage and insulation first.
Wrapping It Up
Ditching that old wall box is totally worth the weekend of hassle. You get rid of the noise, the drafts, and the ugly metal grate on your wall. Sure, patching the drywall is annoying, and dealing with the electrical requires a bit of planning. But at the end of the day, you get a premium setup that actually keeps you comfortable. Measure your room, do the wall repair right, and grab a solid system from Minisplitsforless.com. You'll probably wonder why you didn't do it years ago.